To set up pool fall alerts, you’ll position the detector centrally along your pool’s longest side, ensuring it’s within 28 feet of potential fall locations and more than 3 feet from filtration systems. Install the sensor tube 8.5 inches below the water surface in areas with at least 12 inches depth, maintaining a 1-2 centimeter gap from pool walls. Test the system by dropping weighted objects at various locations to verify coverage, and conduct regular maintenance checks. The complete installation process involves additional critical steps for ideal safety protection.
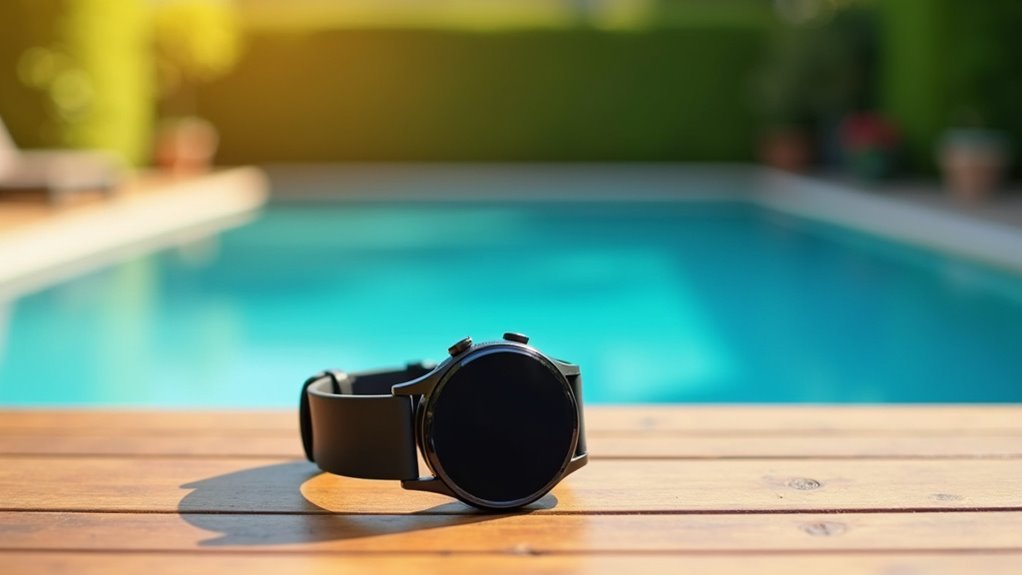
Choosing the Optimal Installation Location for Your Pool Fall Detector
When positioning your pool fall detector, you’ll need to contemplate several vital factors that directly impact its effectiveness and reliability.
First, confirm your pool falls within the supported dimensions of 20 x 40 feet maximum. For rectangular pools, position the detector centrally along the longest side’s coping. You must maintain more than 3 feet distance from filtration systems and water features to prevent false alarms.
Position your pool fall detector centrally along the longest side, maintaining 3+ feet distance from filtration systems to prevent false alarms.
The device shouldn’t exceed 28 feet from potential fall locations, making central positioning essential for ideal coverage. Verify the activation zone remains easily accessible for maintenance and testing.
Consider siren placement carefully—it must be audible from inside your home and all relevant areas. For irregular or larger pools, you may need multiple units or professional consultation to achieve proper coverage. Remember to perform regular maintenance checks to ensure your pool fall detector continues operating at peak performance levels.
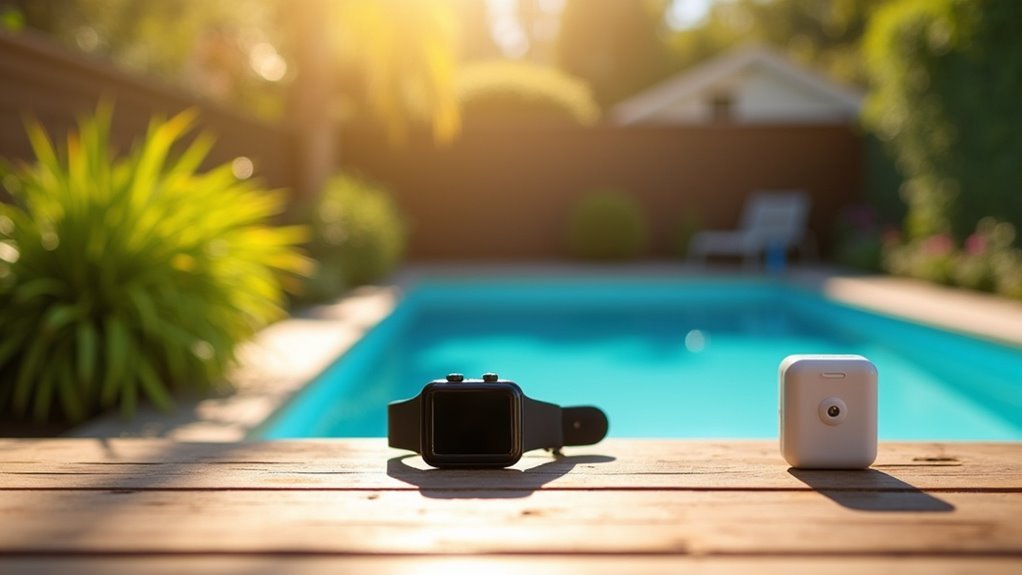
Essential Tools and Materials for Pool Alarm Setup
Preparation is key to successfully installing your pool fall alarm system. You’ll need basic mounting hardware like brackets, screws, and anchors, which typically come included with your alarm.
Most systems require standard 9V or AA batteries for power, so check your manual for specific requirements. Keep a drill handy for wall or deck mounting, though some models offer adhesive or no-tools installation options.
For water-based alarms, you’ll use the included string or anchor system to position floats properly.
Don’t forget your instruction manual—it contains essential placement guidelines and troubleshooting tips. Consider having extra batteries, cleaning supplies, and alarm testers on hand for ongoing maintenance. Following manufacturers’ instructions closely ensures your alarm functions as intended and is securely set up.
Most pool alarms are designed for DIY setup, making installation straightforward with the right preparation.
Preparing the Installation Area and Marking Drill Points
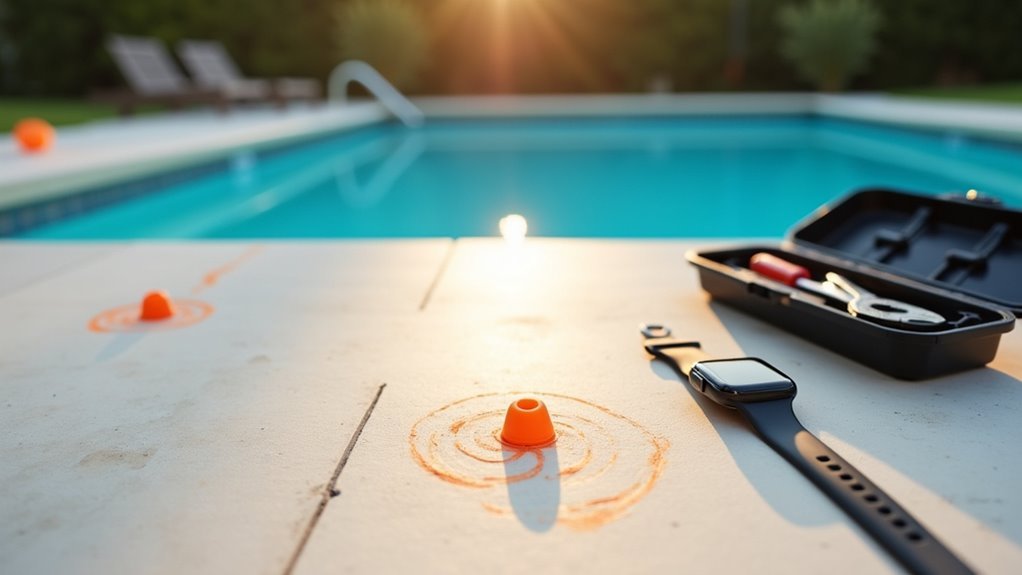
Now that you’ve gathered your tools and materials, you’ll need to assess your pool area and plan exactly where each component will go. Start by confirming your pool water is clear and install during calm weather conditions. Remove any obstacles that could interfere with sensor performance or alarm audibility.
| Installation Factor | Requirement | Notes |
|---|---|---|
| Water Depth | Minimum 12 inches | Essential for proper detection |
| Pool Covers | Remove bubble covers | They interfere with sensors |
| Surface Prep | Clean, debris-free | Guarantees accurate marking |
| Drill Bit Selection | Match surface type | Concrete bits for concrete |
| Point Spacing | Level and accurate | Prevents uneven installation |
Mark your drill points precisely, ensuring they’re level and properly spaced. Test the alarm’s audibility from inside your home before finalizing placement. Check that battery levels are sufficient before beginning installation to avoid malfunctioning during setup.
Installing and Securing the Main Detection Unit
You’ll need to choose the right spot for your detection unit where water depth meets the minimum 12-inch requirement and the sensor can cover maximum pool area.
Once you’ve identified this location, mark your drilling points by positioning the base plate flat against the deck and marking through the mounting holes.
Secure the unit firmly using a ½-inch masonry drill bit and appropriate anchors to guarantee the base won’t shift during operation.
Choose Optimal Location
Before installing your pool alarm, selecting the right location determines whether your detection system will function reliably or trigger false alarms.
Position the sensor to extend 10cm into the water while maintaining a 1-2cm gap from pool walls to prevent interference. Avoid areas near return jets, skimmers, or heavy water movement zones that could cause false triggers.
Choose a flat, stable surface on your pool deck or edge to prevent tilting. If you’re working with sloped surfaces, use adjustment accessories to create a level mounting area.
Verify the location provides easy access for maintenance and battery replacement while keeping the device visible for regular status checks. Clear the area of furniture, equipment, or vegetation that might obstruct sensor function.
Mark Drilling Points
With your ideal location selected, gather your measuring tape and pencil to mark the exact drilling points for your pool alarm’s main detection unit. Use the manufacturer-provided template if available to guarantee accurate spacing and alignment.
Mark two holes per installation site, following the distances specified in your alarm’s manual. Verify you’re marking on flat, level areas of the pool deck for stable installation.
Double-check that your marked points maintain the required minimum distance from the pool edge per local regulations. Confirm the drilling location won’t interfere with your pool liner or structure, and keep marks at least 1–2 cm from the pool wall to prevent damage.
Accurate marking now prevents alignment issues during installation.
Secure With Fasteners
Once you’ve marked your drilling points, position the detection unit’s base at the designated location and insert the provided screws through the mounting holes.
Place the stabilizing foam pads under the base to guarantee stability and create a waterproof seal. Position the small black joints on the screw barrels to maintain waterproof integrity throughout the installation.
Secure the screws manually rather than using electric tools to prevent over-tightening, which could damage the unit or compromise its seal.
Verify the base sits flush against the pool’s coping for peak stability. Once all screws are properly tightened, install the protective caps over the fasteners.
This final step protects the hardware from pool chemicals and weather exposure, extending your fall detector’s lifespan and maintaining its reliability. After installation, conduct regular testing to verify the alarm activates properly and maintains consistent functionality over time.
Adjusting Sensor Tube Depth and Positioning
You’ll need to position your sensor tube at the correct depth to guarantee reliable fall detection.
The tube should be submerged 8.5 inches in water with a tolerance of plus or minus one inch, while maintaining proper clearance from pool walls.
Keep a gap of 1-2 centimeters between the sensor tube and pool wall to prevent interference that could trigger false alarms.
Proper Immersion Depth
Setting your pool fall alert sensor to the correct immersion depth is critical for reliable detection and minimal false alarms.
You’ll need to position the sensor tube approximately 8.5 inches below the water surface, with a tolerance of +/- 1 inch for ideal performance.
Here are the key depth requirements you must follow:
- Minimum water depth – Install only where water depth reaches at least 12 inches
- Sensitivity positioning – Place sensors closer to the surface for increased wave motion detection
- Tube adjustment – Use a hacksaw to trim the sensor tube if needed to achieve proper depth
Remember that your sensor detects wave motion, so the immersion depth directly affects how well it’ll respond to water disturbances when someone falls in.
Avoiding Wall Contact
While proper immersion depth guarantees accurate detection, maintaining adequate clearance from pool walls is equally essential for your fall alert system’s reliability.
Position your sensor more than 0.2 inches from coping edges to prevent interference and false alarms. Place it at the center of your pool’s longest wall for maximum coverage, guaranteeing it’s within 28 feet of all potential fall points.
Avoid installing near filtration systems, waterfalls, or water jets that cause disturbances. Keep the sensor tube free from bending or compression against walls.
During installation, loosely mount the sensor first to test for wall contact before drilling final holes. Test the tube’s movement to verify clearance, and regularly recheck positioning after pool maintenance to guarantee continued proper operation. Proper placement of motion sensors enables effective detection of water disturbances that indicate potential drowning incidents.
Battery Installation and Power System Setup
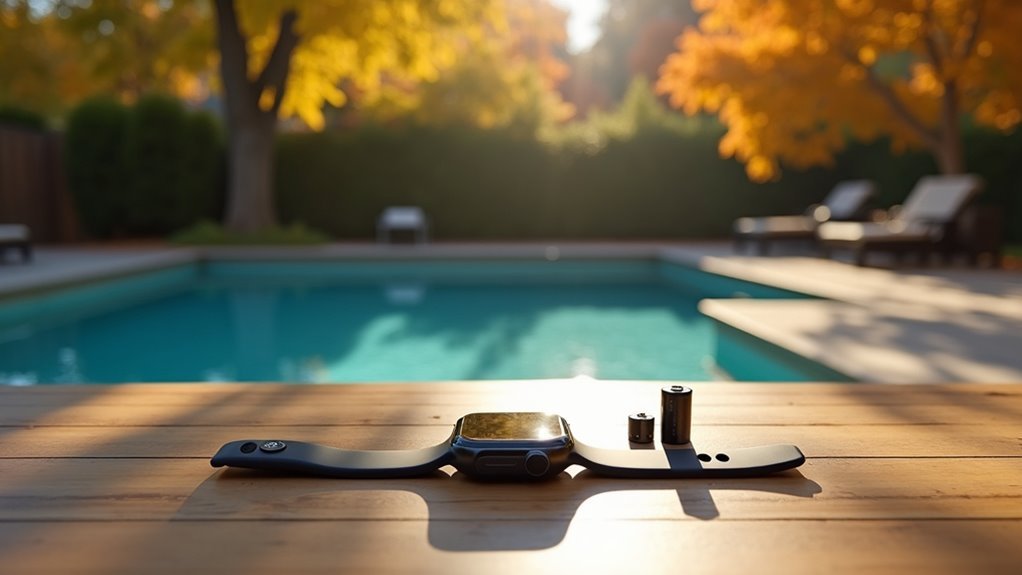
Before your pool fall alert system can protect your family, proper battery installation guarantees reliable operation when it matters most. Most devices require 9V, LR20 alkaline, or AA/AAA batteries depending on your specific model.
Here’s your essential setup process:
- Access the battery compartment by removing screws or covers from the unit’s rear or bottom section.
- Insert batteries correctly by observing polarity markings and confirming secure placement in designated slots.
- Reattach the compartment securely to maintain waterproof sealing and replace all covers tightly.
After installation, verify all units power up properly. Your device should emit sounds or flash lights confirming successful activation.
Conduct the manufacturer’s recommended test simulation to verify signal transmission between detectors and alarms works correctly before relying on the system.
Initial System Configuration and Mode Selection
Once your batteries are properly installed and functioning, you’ll need to configure your pool fall alert system’s operational modes to match your specific pool conditions and usage patterns.
Install the detector in water depths of at least 12 inches for maximum detection capability. Position the sensor at a 90-degree angle to the pool surface to guarantee accurate disturbance monitoring.
The system automatically switches between modes based on water conditions. When the pool becomes still, it’ll enter surveillance mode within 100 seconds and arm itself after approximately ten minutes.
You can manually control modes using the control buttons, switching between “SURVEIL” and “SWIM” modes as needed. For larger pools, you’ll need multiple detectors to guarantee complete zone coverage throughout the swimming area.
Activating Swimmer Mode to Prevent False Alarms
Before entering your pool for swimming or recreational activities, you’ll need to activate Swimmer Mode using either the magnetic key or your mobile app to prevent false alarms during normal water movement.
This temporarily suspends the alarm system’s monitoring function while you’re actively using the pool, eliminating the frustration of constant alerts triggered by splashing and swimming motions.
Once you’ve finished swimming and exited the pool, the system will automatically detect when the water becomes still and rearm itself to resume protective monitoring. The alarm will reactivate after inactivity to ensure continuous protection when no one is swimming.
Activating Swimmer Mode
When you activate Swimmer Mode, your pool safety system automatically distinguishes between intentional swimming activities and accidental falls into the water. This advanced feature uses motion sensors and AI algorithms to analyze movement patterns, considerably reducing false alarms that can frustrate users and potentially compromise emergency response.
To properly activate Swimmer Mode, you’ll need to:
- Calibrate your sensors to accurately detect swimming patterns specific to your pool’s size and layout.
- Update system algorithms regularly to improve detection accuracy and adapt to different swimming styles.
- Adjust sensitivity settings based on environmental factors like lighting conditions and typical pool usage.
The system continuously monitors water activity, learning from user feedback to enhance performance. Similar to how swimmers perform activation movements before competition to prepare their bodies, your pool system requires a warm-up period to optimize its detection capabilities.
Proper activation guarantees seamless integration with your alarm system while maintaining reliable fall detection capabilities.
Automatic System Reactivation
Your pool safety system’s automatic reactivation feature builds upon Swimmer Mode’s intelligence by seamlessly restoring full monitoring capabilities after swimming sessions end. The system automatically detects when swimmers have exited and gradually shifts back to full alert status.
You’ll need to calibrate sensors properly to guarantee accurate readings during reactivation. Adjust flow rates and pressures to prevent system strain when monitoring resumes.
The reactivation process includes balancing water chemistry to align with system specifications for peak performance. Once the system is operational, air release from filters and monitoring equipment ensures optimal sensor function and prevents pressure buildup that could affect alert accuracy.
Configure sensitivity settings to match your pool’s specific conditions, reducing unnecessary false alarms. Environmental factors like weather conditions can affect sensor accuracy, so customize alert settings accordingly.
Keep software and firmware updated to maintain compatibility and accuracy. This intelligent reactivation prevents gaps in safety coverage while maintaining system reliability.
Testing Fall Detection Coverage Around Your Pool
After installing your pool fall detection system, you’ll need to thoroughly test its coverage to confirm it can reliably detect falls throughout your entire pool area.
Proper testing guarantees your system won’t miss critical incidents due to dead zones or interference.
Follow these essential steps to verify complete detection coverage:
- Test strategic locations – Drop weighted objects at pool edges, corners, shallow areas, and around obstacles like steps or ladders to confirm sensor response.
- Evaluate sensor placement – Position sensors according to manufacturer recommendations, confirming coverage extends to all depths and alcoves.
- Check for interference sources – Test near pool equipment, jets, and cleaning devices that might create disturbances affecting alarm performance.
Document your results and adjust sensor positioning as needed for maximum protection. Conduct testing over a 24-hour period to account for varying environmental conditions and system performance throughout day and night cycles.
Validating Alarm Response Times and Sensitivity
Two critical factors determine whether your pool alarm will effectively protect swimmers: how quickly it responds to falls and how accurately it detects different-sized objects entering the water.
Test your alarm’s response times using weighted objects of varying sizes—2-gallon and 3-gallon containers work well for simulations. Effective alarms should trigger within 7-20 seconds, though some may take up to 70 seconds depending on sensor type and pool conditions.
Adjust sensitivity settings to detect objects around 15-18 pounds while minimizing false alarms from debris or wind. Pool entry alarms use subsurface wave detection to monitor when someone or something enters the water.
Run multiple trials under both still and disturbed water conditions to guarantee reliability. Wait 15 minutes between tests to allow automatic reactivation.
Remember that pool geometry, sensor placement, and environmental factors all impact performance, so validate each installation individually.
Ongoing Maintenance and Seasonal Care Requirements
While effective alarm testing establishes initial reliability, consistent maintenance guarantees your pool fall alert system continues protecting swimmers throughout its operational life.
Your alert system requires the same diligent care as your pool’s water chemistry and equipment.
Daily maintenance involves checking battery levels, cleaning sensor surfaces of debris, and verifying wireless connectivity.
You’ll need to inspect mounting hardware and test alarm audibility during your routine pool skimming. Incorporating these checks into your daily pool maintenance routine ensures consistent equipment performance alongside your regular water level and circulation monitoring.
Seasonal care requirements include:
- Winterizing procedures – Remove and store sensors in a dry location, disconnect batteries, and inspect for weather damage before closing your pool
- Spring reactivation – Reinstall components, replace batteries, and recalibrate sensitivity settings
- Summer monitoring – Increase testing frequency during peak usage periods and check for interference from pool equipment
Annual professional inspections guarantee peak performance and compliance with safety regulations.
Frequently Asked Questions
Can Pool Fall Detectors Work Effectively During Heavy Rain or Storms?
Pool fall detectors can struggle during heavy rain or storms since surface sensors often trigger false alarms from raindrops and wind. You’ll get better performance with subsurface sensors, which aren’t affected by surface disturbances.
Will the Alarm Trigger if a Large Pool Toy Falls Into Water?
Your alarm might trigger if a large pool toy falls in, depending on the toy’s weight and size. Most alarms detect objects over 15-18 pounds, so lighter toys typically won’t cause false alarms.
How Do I Know if My Pool Alarm Meets Local Safety Regulations?
Check your pool alarm’s certification labels for ASTM and UL compliance standards. Contact your local building department to verify specific requirements for your area, as regulations vary greatly between states and municipalities.
Can Multiple Pool Alarms Interfere With Each Other’s Detection Systems?
Yes, multiple pool alarms can interfere with each other, especially when they operate on similar frequencies. You’ll reduce interference risks by choosing different detection technologies like sonar and lidar, or following manufacturer placement guidelines.
What Happens if the Sensor Tube Gets Damaged by Pool Cleaning Equipment?
If your sensor tube gets damaged by cleaning equipment, you’ll experience inaccurate readings, potential data loss, and safety risks. You’ll need costly repairs, face system downtime, and spend time replacing components while your pool remains unmonitored.
In Summary
You’ve successfully installed your pool fall detector and established an essential safety barrier. Remember to test your system monthly, replace batteries as needed, and adjust settings seasonally. Don’t rely solely on technology—maintain active supervision around water. Your detector’s only effective when properly maintained and positioned. Keep spare parts handy, document your testing schedule, and make certain all family members understand how the system works. Your vigilance combined with this technology creates the best pool safety.


Leave a Reply