You’ll need to verify your smartwatch’s carrier compatibility and eSIM support before purchasing, then contact your provider to activate number sharing plans. Choose data plans that fit your usage, with options ranging from $5-10 monthly depending on carrier bundling. Optimize battery life by prioritizing Bluetooth over LTE when near your phone and adjusting screen brightness. Configure emergency contacts, standalone apps, and streaming services for true independence. Test call quality and data speeds in various locations to guarantee reliable connectivity. Master these fundamentals to release your wearable’s full potential.
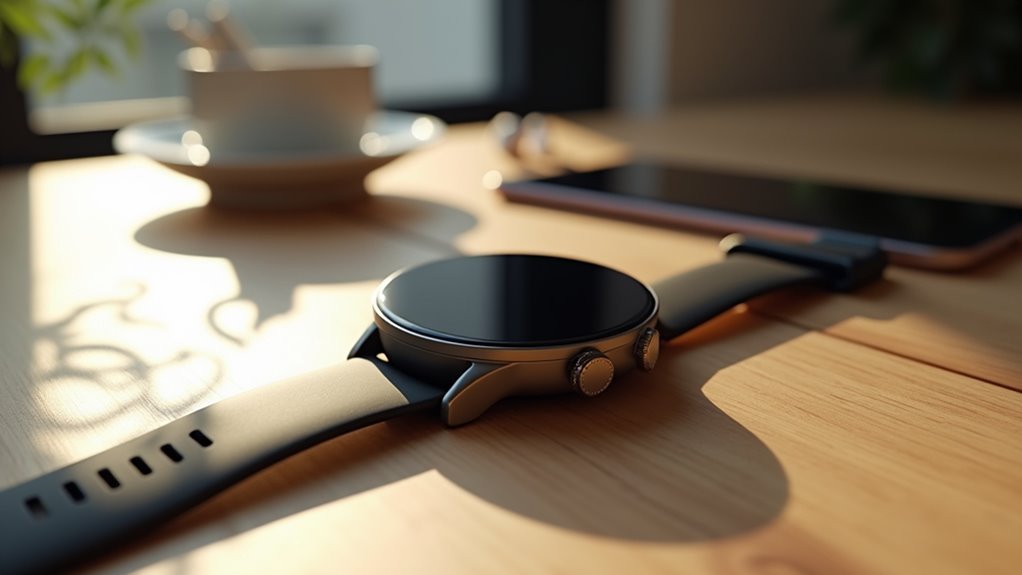
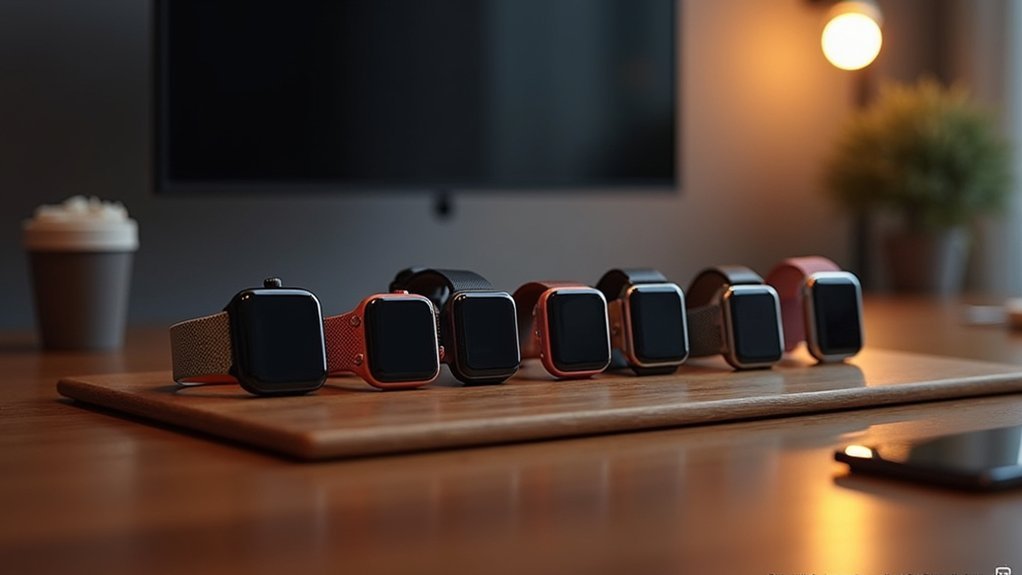
Choose the Right LTE-Enabled Smartwatch for Your Carrier
When selecting an LTE-enabled smartwatch, you’ll need to verify that your chosen device works seamlessly with your carrier’s network before making a purchase.
Different carriers offer varying levels of support for LTE smartwatches, with some requiring specific plans or add-ons for cellular functionality. You should check your carrier’s compatibility listings to confirm your desired device is approved for their network.
Consider that you’ll typically need to pay for a separate data plan to access cellular features. These smartwatches utilize eSIM technology for smaller designs while maintaining shared phone numbers with your primary device.
Some smartwatches support multiple carriers, giving you flexibility in choosing providers. Popular options include the Apple Watch Series 10 (GPS + Cellular), Samsung Galaxy Watch Ultra, and Google Pixel Watch 3 LTE, each offering different carrier compatibility and feature sets for your needs.
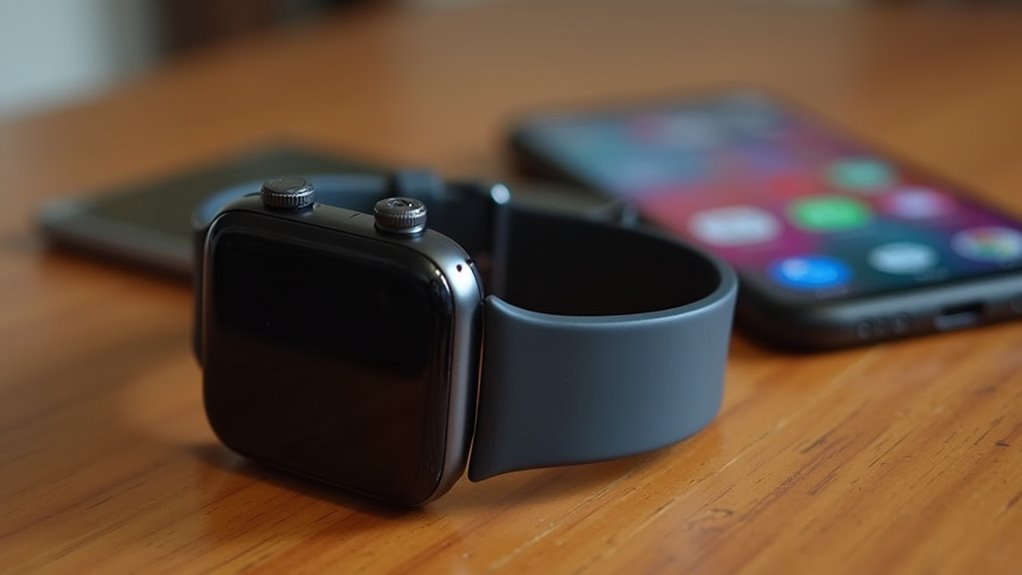
Understand Esim Technology and Number Sharing Capabilities
You’ll need to understand eSIM technology basics to maximize your smartwatch’s standalone connectivity potential.
The number sharing process allows you to use the same phone number across multiple devices through your carrier’s digital provisioning system.
Before activating your wearable’s LTE features, you must verify that your specific carrier supports eSIM functionality and number sharing for your smartwatch model. The eSIM is soldered directly onto your device’s circuit board, eliminating the need for physical SIM card changes when switching carriers or plans.
Esim Technology Basics
Since eSIM technology represents a fundamental shift from traditional removable SIM cards, understanding its core functionality becomes essential for maximizing your wearable’s standalone connectivity potential.
Your eSIM is embedded directly into your device’s motherboard, eliminating the need for physical SIM slots and enabling compact, durable wearable designs.
You’ll benefit from instant activation and remote provisioning capabilities that let you switch carriers or plans digitally without waiting for physical SIMs.
The rewritable chip stores your IMEI and IMSI identifiers securely while supporting multiple profiles simultaneously.
This means you can maintain separate personal and business lines on one device, switching between them as needed for ideal connectivity management. The embedded design also enhances water resistance by reducing potential moisture entry points that traditional SIM card slots typically create.
Number Sharing Process
Number sharing transforms your wearable device from a secondary accessory into a fully independent communication hub by allowing it to receive calls and messages using your primary smartphone’s phone number. You’ll eliminate the need for separate phone numbers while maintaining seamless connectivity across devices.
| Step | Action |
|---|---|
| 1 | Contact your carrier to request number sharing activation |
| 2 | Scan the QR code provided by your carrier on your wearable |
| 3 | Navigate to Settings > Cellular to configure the eSIM profile |
| 4 | Test connectivity by making calls and sending messages |
Before starting, you’ll need to verify your wearable supports eSIM technology and your carrier offers number sharing services. The process typically takes 10-15 minutes, and you’ll maintain continuous service throughout the setup. eSIM provides enhanced security compared to traditional physical SIM cards, protecting your cellular connection from unauthorized access or physical theft.
Carrier Compatibility Requirements
Before activating number sharing, your carrier must support both eSIM technology and multi-device connectivity for your specific wearable model.
eSIM compatibility isn’t universal—carriers often restrict supported devices to particular brands, operating system versions, or plan types, making verification critical before purchase or activation.
Check your carrier’s official compatibility list to confirm your wearable’s supported. Some providers limit eSIM access to postpaid plans or specific device models.
Your wearable must also be carrier liberated to work with other networks if you’re switching providers.
Contact your carrier directly to verify they offer number sharing plans for your device. Many carriers provide customer support for eSIM-related inquiries and can help clarify compatibility requirements for your specific wearable model.
Don’t assume compatibility—requirements vary considerably between carriers, regions, and wearable models, making confirmation essential for successful activation.
Evaluate Monthly Data Plans and Bundled Service Options
You’ll want to compare carrier plan costs since pricing varies considerably between providers like T-Mobile’s $5/month options and U.S. Cellular’s $10/month plans.
Bundling your smartwatch with your existing phone service often reduces monthly costs and simplifies billing management.
Consider family plan integrations that allow you to add multiple wearables under one account for additional savings. Many carriers offer upgrade eligibility after six months once you’ve paid off at least 50% of your device.
Compare Carrier Plan Costs
How much should you expect to pay for standalone wearable LTE connectivity? You’ll find significant price variations between carriers and plan types. Tello offers the most budget-friendly options at $5-$25 monthly with customizable data from 1GB to unlimited on T-Mobile’s network.
Mint Mobile’s 5GB plan costs $15-$25 but requires prepaid longer terms. Major carriers like AT&T, Verizon, and T-Mobile typically charge more but include premium features. Many providers only support specific smartwatches like Apple, Samsung, or Google devices, which can limit your options.
Key cost considerations for wearable plans:
- MVNOs like Tello provide cheaper alternatives but may have deprioritized data speeds
- Major carriers offer priority network access and robust 5G coverage at higher prices
- Bundled services can reduce overall costs through shared data buckets
- Prepaid plans avoid long-term commitments and monthly service fees
Bundle With Phone Service
Bundling your smartwatch service with your existing phone plan often delivers better value than managing separate accounts.
You’ll enjoy streamlined billing and unified customer support for both devices, simplifying your monthly management. Many carriers like T-Mobile, Verizon, and U.S. Cellular offer significant discounts when you bundle services, reducing your overall costs compared to standalone plans.
Bundled plans enhance integration between your smartwatch and phone, enabling seamless data sharing and consistent network coverage across both devices.
You’ll access the same 5G speeds and coverage areas on your wearable as your primary phone. Most carriers allow you to easily upgrade or customize your bundled plan as your needs change, and you can monitor data usage across both devices through a single account dashboard. Before committing to any plan, take time to compare features and pricing options to ensure you’re getting the best value for your specific usage needs.
Optimize Battery Life While Using Cellular Features
Since standalone wearable devices rely heavily on cellular connectivity when away from your phone, managing power consumption becomes critical for extending usage throughout the day.
Smart power management transforms standalone wearables from daily charging burdens into reliable all-day companions through strategic connectivity choices.
You’ll need to balance connectivity features with battery preservation to maintain functionality when it matters most.
Strategic network management greatly impacts your device’s longevity. When your phone’s nearby, prioritize Bluetooth connections over LTE since Bluetooth consumes considerably less power.
You can also toggle airplane mode while keeping Bluetooth active for hands-free operation without cellular radio drain.
Key battery optimization strategies include:
- Disable LTE or Wi-Fi when not actively needed
- Turn off auto-connect features and LTE roaming
- Use Bluetooth preferentially within phone range
- Avoid continuous mobile data when Bluetooth connection’s available
These adjustments help maximize your wearable’s operational time. Additionally, reducing screen brightness can further extend battery performance during extended cellular usage sessions.
Set Up Emergency Communication and Safety Features
When you’re away from your smartphone, your wearable’s emergency features become your primary lifeline for critical situations. Configure emergency contacts through your device’s companion app, making sure you’ve selected reliable contacts who can respond quickly.
Input essential medical information like allergies and chronic conditions that responders need to know. Enable GPS tracking so emergency services can locate you precisely, and activate fall detection if your device offers it.
Most standalone wearables use cellular networks like AT&T’s LTE or Verizon’s 4G/5G for dependable connectivity. Set up two-way communication features to speak directly with monitoring stations.
Customize notification preferences for how contacts receive alerts. Test your emergency button regularly and verify your device connects to both cellular and Wi-Fi networks for maximum reliability during emergencies. Configure your device so home button presses can trigger SOS alerts when needed most.
Configure Standalone Apps and Streaming Services
After setting up emergency features, you’ll want to maximize your wearable’s independence by configuring standalone apps that don’t require your phone’s presence.
These apps leverage your device’s LTE or Wi-Fi connectivity to function autonomously, giving you true freedom from your smartphone.
Focus on configuring apps with core functionality that includes built-in authentication systems. This guarantees seamless access without needing secondary device verification.
- Music streaming apps – Download playlists for offline listening or stream directly
- Messaging platforms – Send texts and voice messages independently
- Navigation services – Get turn-by-turn directions without phone connectivity
- Fitness tracking apps – Monitor workouts and sync data automatically
Test each standalone app’s connectivity and authentication before relying on them.
Verify they maintain full functionality when your phone’s completely disconnected or out of range. If you experience connection problems, contact your carrier for support to resolve any network-related issues.
Test Call Quality and Data Performance in Your Area
Performance testing reveals the true capabilities of your standalone wearable’s LTE connection and determines whether it’ll meet your daily communication needs.
Test in diverse locations including urban areas, rural zones, and indoor environments where you’ll typically use your device. Evaluate call quality by monitoring audio clarity, call drop rates, and connection setup times during both peak and off-peak hours.
Test your wearable’s performance across urban, rural, and indoor environments while monitoring call quality during peak and off-peak usage periods.
Assess data performance by measuring download and upload speeds, checking streaming quality, and testing latency for real-time applications. Use cellular network testing tools to accurately measure LTE/4G performance across different scenarios.
Test under various weather conditions since atmospheric changes can affect signal strength. Document your results and compare them against your carrier’s advertised speeds.
If performance consistently falls short, consider switching data plans or carriers that offer better coverage in your area.
Frequently Asked Questions
Can I Use My LTE Smartwatch While Traveling Internationally?
You can use your LTE smartwatch internationally if your carrier supports roaming and you’ve enabled data roaming. Check compatibility, setup international plans beforehand, and monitor usage to avoid unexpected charges.
Will My Smartwatch Work if My Phone Is Completely Turned Off?
Yes, your LTE smartwatch will work independently when your phone’s completely turned off. You can make calls, send texts, and use apps since it connects directly to cellular networks without requiring your phone.
How Does LTE Connectivity Affect My Smartwatch’s Water Resistance Rating?
LTE connectivity doesn’t affect your smartwatch’s water resistance rating. Water resistance depends on physical sealing and design, not wireless features. Your watch’s IP68 or similar rating remains unchanged regardless of LTE capability.
Can I Share My Smartwatch’s Internet Connection With Other Devices?
You can’t share your smartwatch’s internet connection with other devices. Most smartwatches lack the necessary hardware and software for hotspot functionality, and it’d drain your battery extremely quickly anyway.
What Happens to My LTE Connection During Software Updates?
Your LTE connection typically drops temporarily during software updates as the device reinitializes network settings. You’ll need to reboot or reset cellular connections afterward to restore full LTE functionality on your device.

Leave a Reply